Changing filters on RO system
- Domestic Water Purification (78)
- Emergency Water Purification (12)
- Industrial Water Purification (37)
- Outdoor Water Purification (8)
- Water pollution problems (5)
- Water Purification Processes (5)
- Water Quality for Plants (1)
To keep your RO system working at it’s best changing filters on RO system should be done every 6 months.
For manuals on changing the RO membrane and activated post carbon filters, please check out our other blog posts.
Pre-filters
The pre-filters of the RO system should be replaced at every 6 – 8 months.
RO membrane
The RO membrane can have a lifetime of 2 – 4 years, depending on the inlet water quality.
Activated carbon post-filter
Activated carbon post-filter should be replaced at least at every second pre-filters change.
If the water contains a lot of large particles or a large amount of chlorine, it may be necessary to change the pre-filter cartridges more often. The replacement can be performed by service technicians, but the user can also maintain his device himself.
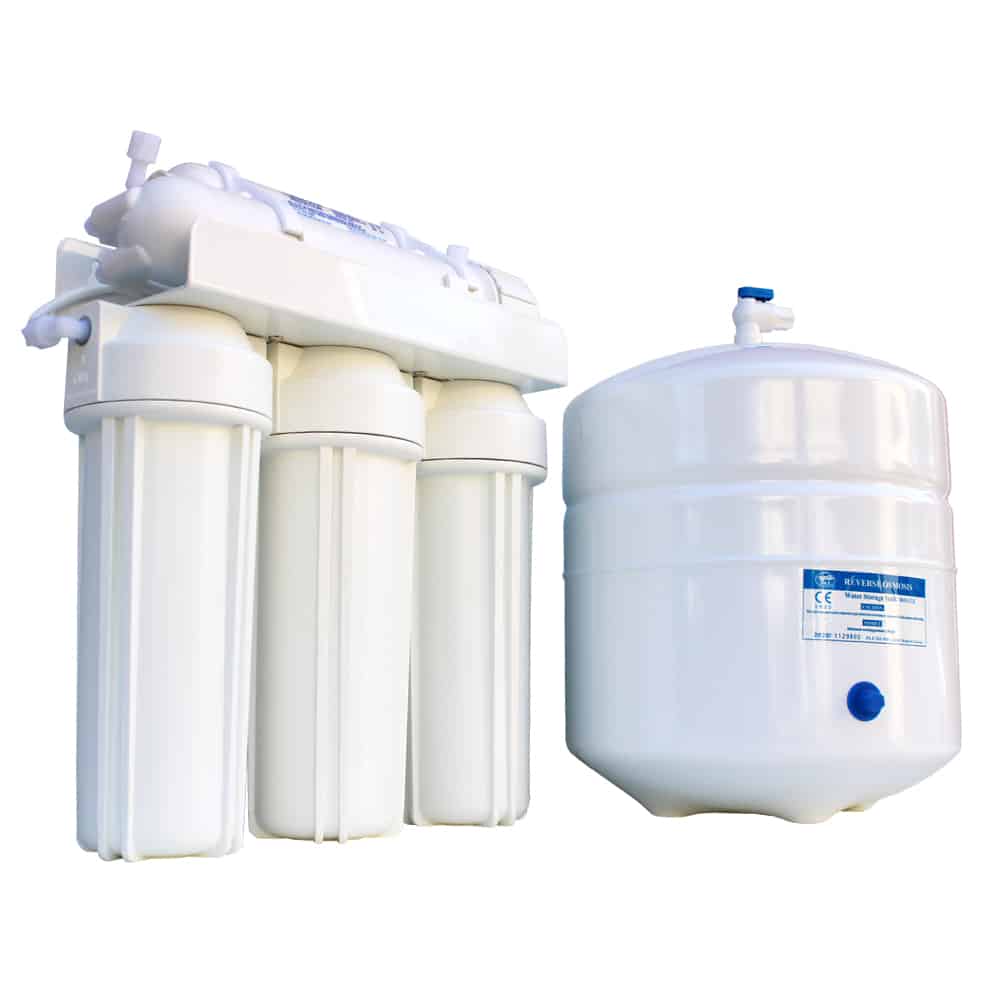
This is an easy guide for replacing the pre-filters. If you want to keep some money that you would pay for service technicians, read through this article, it is really easy.
What filter cartridges do you need?
Before replacing the old cartridges you should provide the new ones. To get the right ones for your RO system, read through the manual.
Almost all home RO systems use filter cartridges with 9 7/8″ or 10″ length. Don’t worry, both lengths will fit your RO system.
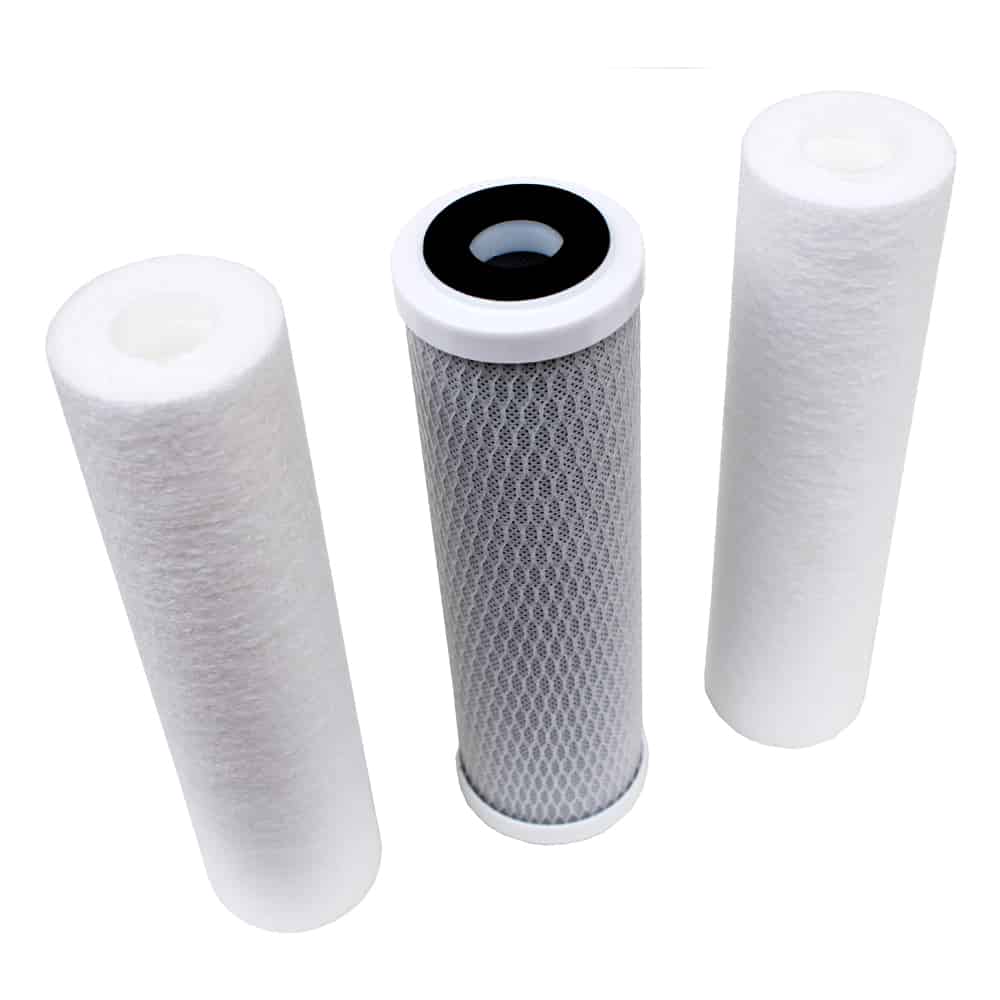
In this manual we will consider the most usual combination of RO prefilters:
- 20 micron mechanical pre-filter cartridge
- carbon block or granular activated carbon pre-filter cartridge
- 5 micron mechanical pre-filter cartridge
Steps for changing filters on RO system
To replace the filter cartridges in the pre-filters, follow these steps:
- Close the inlet (feed) valve and the tank valve of the reverse osmosis system. Open the purified water tap to relieve the system from pressure. Wait until the water at the tap stops flowing. Pull the system out of the kitchen element as far as the hoses allow. It is convenient to put it in a tray or container, so that the water that will leak out of the system does not spill on the floor.
- Unscrew the filter housings using the filter housing key supplied with the system. Pay attention to the layout of filter cartridges in the housings, so that when installing new cartridges, the layout remains the same.
- Remove and throw away the old cartridges.
- If the filter housings are dirty, remove the rubber seals (O-rings) from their seats. Wipe the filter housings and O-rings.
- Clean the housings well with a sponge, then rinse well.
- Lubricate each O-ring with silicone grease. Place O-rings (if removed) each in its housing.
- Place the cartridges in their housings and make sure that each cartridge is placed in the appropriate housing.
- Open the inlet (supply) valve and wait for the water flow at the faucet to stabilize.
- Let the water out of the tank until it is empty.
- Let it fill up and empty it again.
- When the tank is again full it is ready for operation.
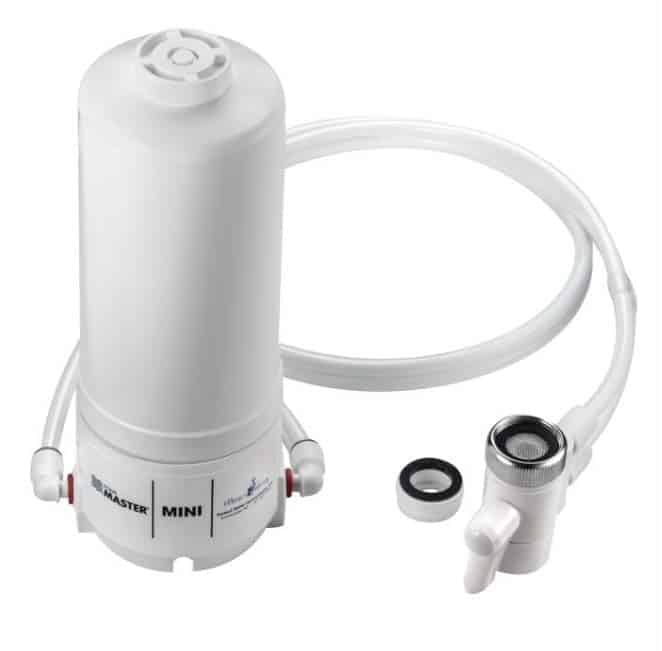
Home Master HM MINI Mini Sink top Water Filter
Mini Filter that makes tap water safe to drink
Faucet Filters – you know they clean-up tap water effectively, but why the short filter life?
Full sized countertop filters like the Home Master Jr. deliver long filter life, but do they have to be so big?
Perfect for tiny houses, shared spaces, travel, dorm rooms and flexible living.
Home Master® Mini features all the performance and long life of a full-sized countertop filter, at the price of a faucet filter. It delivers a full year’s worth of filtered water for all your drinking, cooking, pet watering and veggie washing needs. Go ahead and use it.
NSF Certified Filter • BPA Free • Made in USA
Typical filter life: 1500 gallons or 1 year

